Seeing an ugly scratch on the surface of your car can be heartbreaking, especially a deep one. Whether it’s from a parking incident or an accidental brush, a deep scratch not only impairs the visual appeal but tends to devalue the car. The good news? You don’t always need to make a beeline for a garage.
In this blog, we’ll teach you how to remove deep scratch from car at home quickly and efficiently using simple household products and a little patience.
What is Deep Car Paint Scratches
There are three components on every car’s paint: clear coat, base coat/color, and primer. The first layer, which is a clay coat, helps guard the paint from scratches and UV rays while giving it a shiny reflective finish. Base coat applies the color and is complemented with a primer. In most cases, clear coat scratches only penetrate to the base coat of paint. Even if deep scratch cutting through a clear coat gets to the base coat or slab of graphite layer, severity will still be along the same lines.es.
If scratching or scuffing the paint can cause a dent, one of the most reliable indicators of the severity of a scratch is whether the fingertip gets caught while rubbing over it. If it does, then the scratch is definitely going to be deeper than a polish (the easiest of all possible fixes) for the nail. There are no scratches beneath the surface and they are only found on the clear coat. “Deep scratches” on the other hand, are more difficult. They will affect layers of paint beneath the surface and will need additional polishing to fix them.
Knowing the degree of the scratch's severity will help in finding the quickest solution to either approach it via DIY or have a professional look at it. But if you prefer to take on the challenge yourself to remove scratches from car, make sure you follow these steps!
Tools and Material Required
To begin your car scratch repair at home, you need these basic tools:
- Nano Sparkle or microfiber towels
- Automobile tape
- Sandpaper (2000 to 3000 grit)
- Polishing or abrasion compound
- Car polish or a polishing compound
- Touch up paint matching your car’s color
- Clear coat spray
- Wax
- A scrub that uses a dual action motor.
- Gloves and goggles for safety.
Having the right materials makes a big difference. For example, a nano sparkle cloth can clean more precisely and buff the target area devoid of streaks, meanwhile a scratch remover can work for both the surface and deep scratches.
Step by Step: How to Remove Deep Scratch from Car at Home
Step 1: Clean the Scratched Area
The first step in your car scratch repair at home procedure is to clean the area. Subsequently, begin scrubbing the area surrounding the scratch using water and mild soap, and pay attention to every inch. Any loose particles or debris can interfere with the repair processes, causing unwanted damage during buffing. After cleaning the area thoroughly, dry it using a soft microfiber towel.
Remove any residual dirt or oils from the surface, as these will act as obstructions to paint adhesion when using paint products. The surface must be as clean as possible to ensure an effective long-lasting repair.
Step 2: Sand the Scratch
Now that the area is pristine, grab a piece of fine-grit sandpaper (2000-3000) and begin gently sanding over the scratch. When the scratch is deeper than the outermost layer, sanding becomes imperative. Do your best to avoid sanding too aggressively, as this could damage the paint or clear coat surrounding the scratch. .
Use light pressure while keeping the sandpaper damp. The aim here is to make the scratch less visible and the surrounding area more even. Accomplishing this will increase the chances of achieving a smoother surface in the next steps.
Step 3: Apply Rubbing Compound
Now that the surface is smooth, the next stage in how to remove deep scratches from a car at home is applying a rubbing compound or a scratch remover. These items assist in polishing the surface and eliminating the residual fine scratches from the sanding stage.
Using a microfiber cloth, apply a bit of rubbing compound and work it into the scratched area with small circular motions. The compound should be able to blend the scratch, and the surface should appear even. Depending on the scratch's depth, you may have to go through the process 2-3 times. Scratch removers and rubbing compounds are also capable of polishing up clear coat scratches, enhancing a vehicle’s paintwork.
Step 4: Touch Up the Paint
In the event the scratch reaches the primer, touch-up paint is needed to fill the void. For every cosmetic problem, there is a chemo, and this specific one revolves around ensuring you get the right color. If the touch up paint is the wrong shade, it will accentuate the scratch rather than conceal it. .
The touch-up paint must be applied with precision and care, especially with the more conspicuous shades, using a fine tipped brush. Apply the matching touch-up paint to the scratch, ensuring that you are not spilling into the surrounding area. After doing the initial application, let the paint dry for 30 minutes to 1 hour. If unsure about evenly applying the paint, there is always the option of practicing in a concealed area of the car; this is a good way to get a feel for it.
Step 5: Apply Clear Coat
Wait for the paint to settle and only then proceed to add a light layer of clear coat to preserve it. In this case, touching up around the clear coat’s edges will help conceal any rough edges. The touch-up paint needs a clear coat to keep it intact and agnostic of the vehicle’s scratches. Always remember to let it dry after spraying the scrubbed area.
When it comes to larger areas or multiple scratches, you can use a clear coat and do multiple thin coats in order to achieve an even finish. Just be sure to let each layer dry before applying another coat.
Step 6: Polish and Buff
Once the clear coat is dry, polish the area using car polish or a polishing compound. The polishing process eliminates any haze or sanding marks that may have been left behind. It also aids in blending the repaired section down with the adjacent paint.
Use a microfiber cloth to polish the area softly, or a dual-action polisher to achieve a consistent shiny look. Buff the section until it is glossy and looks like the other parts of your vehicle's paint.
Step 7: Wax the Area
In order to protect your work, apply wax to the repaired section. Wax helps in shielding the paint from getting scratched and adds a shiny finish. Grab a clean microfiber cloth to apply the wax and buff it up until you see a shine.
Pro Tips to Keep in Mind
Always keep the paint touch-up location in a shaded area because direct sunlight might dry out the paint quickly, leading to streaks. Ensure that you are not overly rough while sanding and polishing. If you oversand, you risk ruining the vehicle’s paint job. Before using products like the nano sparkle cloth, make sure you test it in a non-visible area of the car so it does not have any damaging effects. Using high-quality touch-up paint is always recommended, as it blends with the original paint best.
When to Seek Professional Help
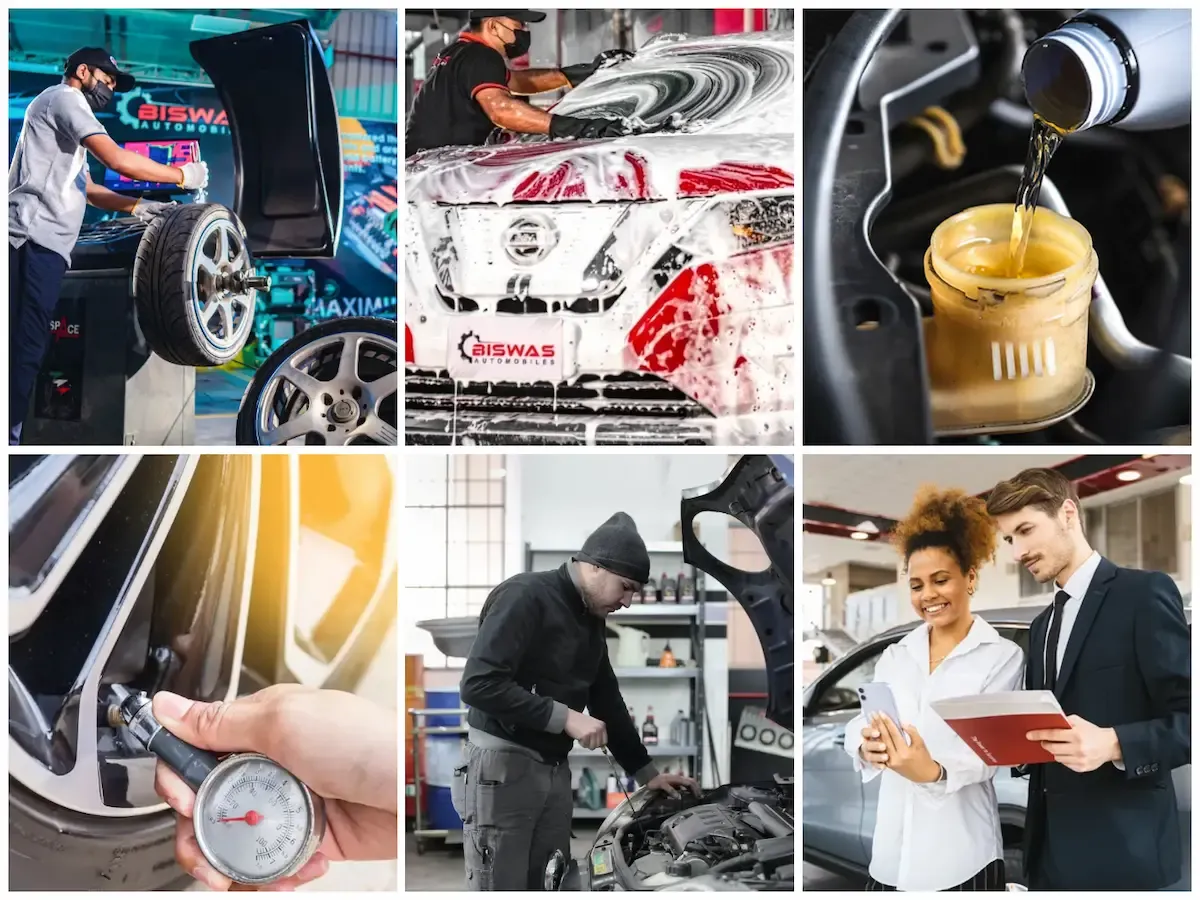
Being too deep, long, or covering a large area are all signs one should leave the scratches to the professionals. Experts at Biswas Automobiles specialize in car paint scratch repair as well as full body car painting to restore your vehicle back to its original working condition.
With the use of modern tools, our technicians skillfully match colors to perform all types of scratched paintwork repair works. Rebuilding from deep scratches to mild ones, we guarantee the strongest bonds with the best finishing touches.
Visit us at: biswasautomobilesbd.com
Summary
Knowing how to remove deep scratches from the car by yourself using household materials gives you a chance to save big bucks while also giving yourself a sense of achievement in completing the task successfully. With the proper materials and method, the results can be truly astonishing.
But, if you are indecisive and prefer to spend your time more freely, our automobile professionals offer great car paint scratch repair and car painting sevices that will leave your automobile looking stunning.
`